Thursday, May 17, 2012

Post It Note Folder Instructions

I modified the project shown in this tutorial http://www.youtube.com/watch?v=I-AAaGQwDB0&feature=related  Instead of folding it in quarters, I folded it in thirds.  I glued the front and back flaps down to create just one double sided pocket inside.  I took pictures (and I apologize ahead of time for the poor lighting) but I hope that the pictures help you to see how I modified the project.


Full sheet of 12 X 12 paper


Fold paper in half (from top to bottom)


Open paper back up so the crease in running horizontally


Fold one end in making a 4" fold


Fold the other end in making a second 4" fold


Open paper up, you should see 6 sections


Fold the top down 2" and the bottom up 2"


Take scissors and cut along the middle seam the length of 2 squares


I then folded it in half (along the seam that I cut, leaving only 1 square attached) so that the pink sides of the paper were touching


Fold the end square towards the middle


Turn the project over and fold the other end square towards the middle


This is the view of the project showing what it will look like after having done the previous step


Fold the project in half, with the pocket flaps on the inside


 I then used liquid glass to glue the front flap down


Open to the back page and glue the back flap down as well
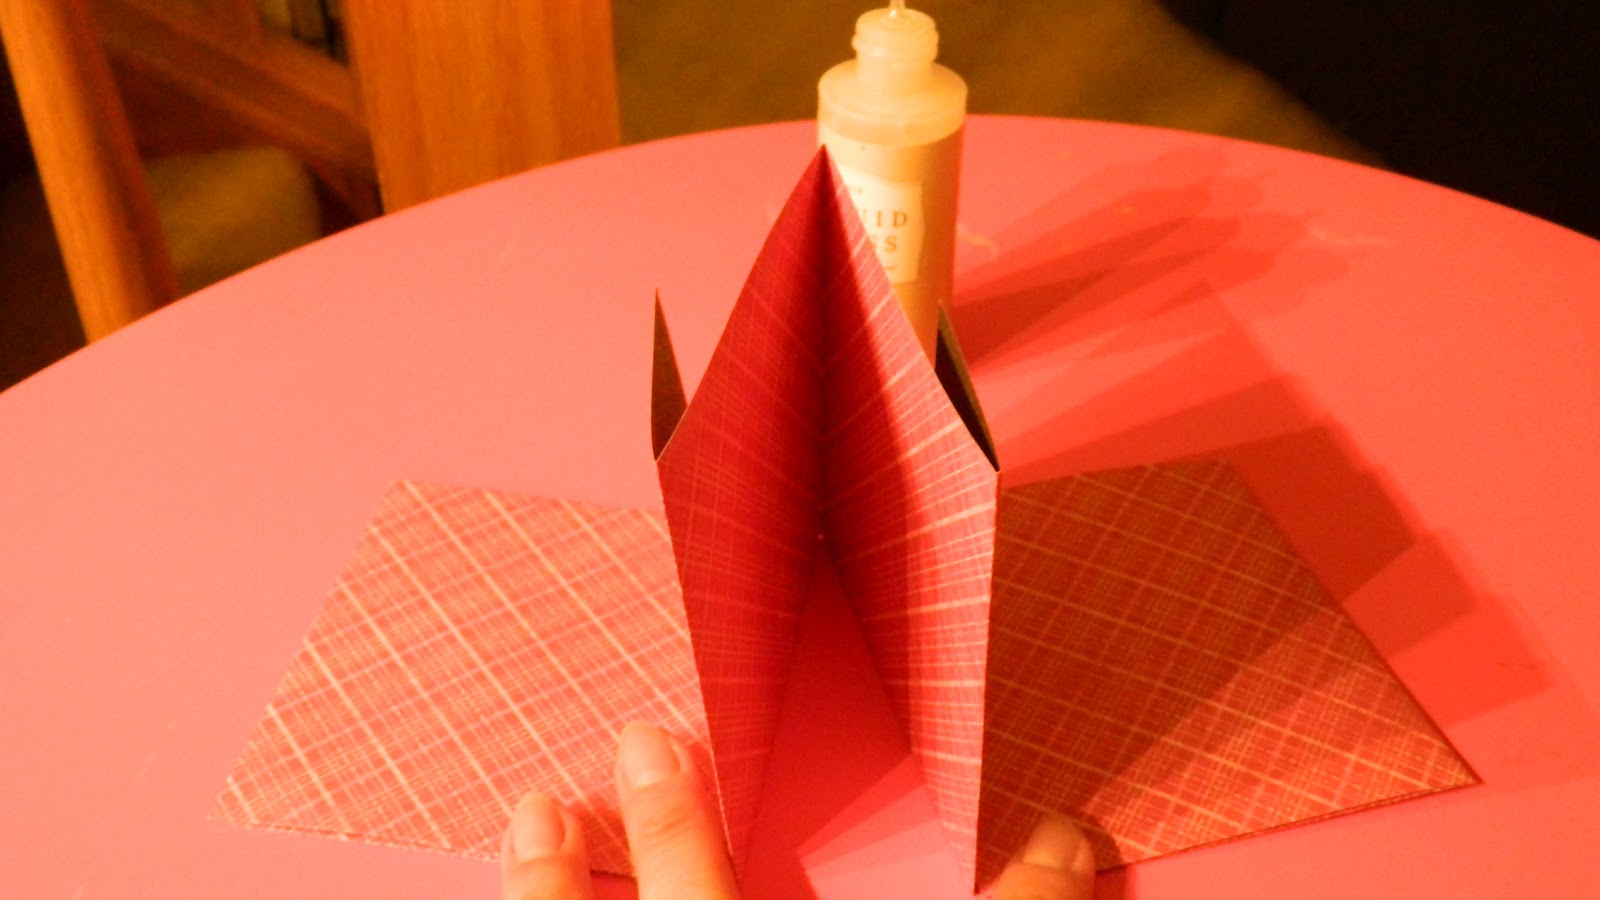


Once the front & back flaps are glued, this is what the folder will look like (the front and back cover are touching the table)


Put a small line of liquid glass along the small flap to attach the edge of the pocket to the back


Do the same on the other side of the pocket, attaching the end of the pocket


Here is what the finished project looks like (I already had the green folder made when I was asked for the directions to I made a second one in pink & black to show the steps).


This is the final product.  I glued a piece of hemp string around it to keep it together and made a flower using the technique outlined in the following video made by another talented CTMH consultant Gloria Rogers http://www.youtube.com/watch?v=w6Ut1Soshms&feature=youtu.be  The middle of the flower is just a piece of matching paper that I tore, crumpled and glued in the middle :)  


I would recommend using a half stack of post it notes so it's not so bulky


Back of the flap where I put some of my business cards.

I just had an order tonight for one of these to help organize coupons for grocery shopping trips.  The possibilities are endless and they're SO easy to make!  These would make terrific make & takes for a crop!  

I hope that the pictures and links help out.  If you have any questions or need anything clarified, please leave me a message to let me know!  ENJOY!!!  Thanks again Gloria Rogers for sharing the secret of creating beautifully inked flowers!  

Monday, May 7, 2012

Free Facebook Give Away


To increase the number of followers that I have on Facebook, I enticed people with a freebie give away!  I offered a set of 8 stamped cards for 1 person that "liked" my page.  Once I received 50 likes, I'd draw a winner.  I put a bit of a challenge on it and if we reached 50 likes by last night at midnight, I'd draw a 2nd winner and make a second set of cards.  Well low and behold, my faithful followers and Facebook friends didn't disappoint and we reached the 50  followers early Sunday evening.  I put everyone's name in a jar and the winners were Lori Hicks and Amy Cantu.  Cards were mailed out to both ladies.  Here are the cards that they won.  


I had a blast making these cards and will be doing another give away in the next few months.

Teacher Appreciation Week

Having been a teacher for the last 10 years, I know how grueling it can be at times.  I can also honestly say that it is such a rewarding job!  For as long as I can remember, I wanted to be a teacher.  At times I miss my kiddos at school but my own children are keeping me PLENTY busy!!!  Growing up my Mom was always very active in my education and was always helping out at school.  I have always tried to help out Grant's teachers whether it be chaperoning field trips, helping out in the classroom, doing projects at home or supporting them any way that I can.  

The PTO set up theme days teacher appreciation week.  Monday's theme was writing a letter to thank a teacher.  Grant made his own cards to give his teachers and wrote little notes in them.  Tomorrow's theme is "show them how sweet they are".  I came up with this for his teachers.


The teachers at Mill Valley are "Extra" special "life savers"!


The theme for Wednesday is "school supplies".  I made each of Grant's teachers a post it note holder and stamped the corners of the post it notes.  I'll package them up in a cellophane bag with a pen.  I opted for plain and simple for these (no embellishments)


The tops of the packages will have my FAVORITE stamp on them!  I was so excited that I was able to create the full rainbow using my new stamp :)  


For Thursday the theme is "thirst for knowledge".  I used washable vinyl letters and personalized aluminum water bottles for each of the teachers.  For Friday, each teacher will get a photo frame and Grant's classroom teacher will get a weekly planner/menu board.  I'll take pictures of those items once I get them finished.  It has been a busy crafty week around here between the card give away and teacher appreciation week but I have been LOVING it!!!

Saturday, May 5, 2012

Summer Writing Journal and Free Cards

I created a Summer Writing Journal for my son Grant.  I'm all about keeping up with school work over the summer but needed to come up with a fun way to do it.  We can NEVER find anything with Grant's name on it so I made him a journal.  It also happens to be a requirement for his Bear Scout badge (to keep a journal for 2 weeks) so we're killing two birds with one stone.  Since showing off Grant's journal, I have had 5 orders for them!  If you're interested in one, they're $8.00 each.  Contact me so we can discuss colors/patterns for your child's journal!  


The front cover of Grant's journal


The back of G's journal


The binder clip to keep his page


I have also set up  a "CraftedWorks" page on Facebook.  To draw more attention and get more people following me, I am having a give away. Once the page reaches 50 "likes",  I'll draw a name.  The winner will receive 8 hand stamped cards created by me.  I also put the challenge out there that if we reach 50 by tomorrow evening, I'll make another 8 cards and draw TWO winners!  Here's a sneak peek at two of the cards that the winner will receive.  


Chalked rainbow card


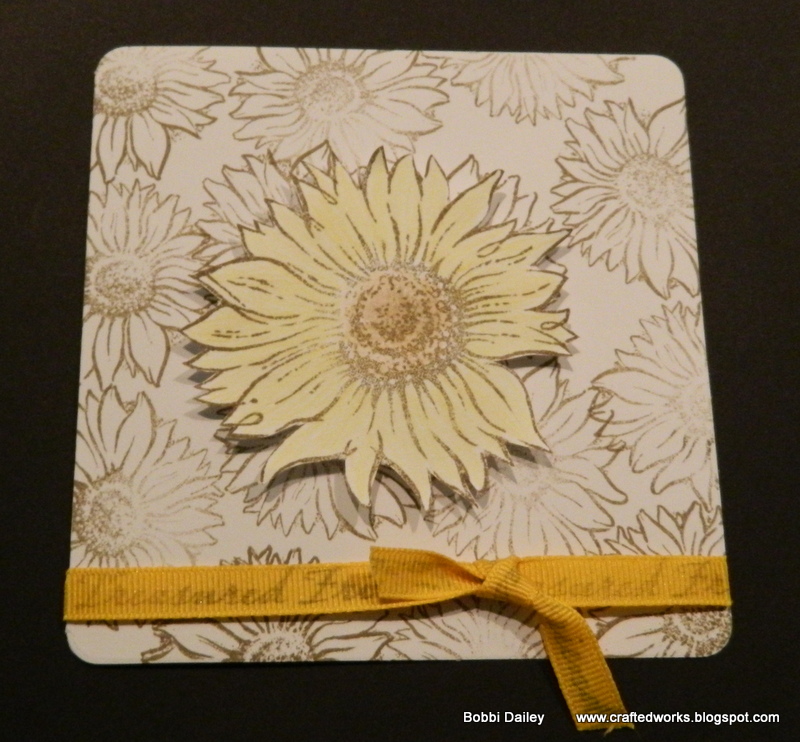
Treasured Friend sunflower card


Thursday, April 19, 2012

Summer fun around the community :)

We don't have any big vacation planned for this summer with the exception of spending a week in Ontario.  I wanted to come up with some fun (and inexpensive) activities to keep Grant busy this summer.  I came up with the idea of making him a "Summertime Bucket List".  There are 24 cards in a sturdy 3" x 3" x 3 1/2"  cardboard box with a magnetic closure.  On the front of the cards there are activities listed for Grant to complete.  The back side of the cards have a place where he can write about the activity...anything to keep up with the writing over the summer!  He is VERY excited about his bucket list and can't wait for summer vacation to start now!


A sample of some of the activities


The back of the cards where Grant will record his experience


The top of the box


The outside of the box


The cards all neatly stacked inside


A workshop will be planned to help you complete your own bucket list!  In order to participate you'll need to order the box and a paper packet and there will be a $5 charge for the use of supplies.  You will be cutting your own papers but if you want me to cut them there will be an additional charge.  Let me know if you're interested!!!

Monday, April 16, 2012

Crafty Kids Success!

This month's workshop was a big mixture of projects from the past few months while we were trying to get everyone caught up :)  The memory boxes from April's workshop turned out beautifully!  Here's Myka and Payton showing off their matching boxes that they created :)

Katherine had to play catch up this month so she made her "Easter cards" into birthday cards.  She LOVED chalking the stamped images and got very creative with the colors :) 


Katherine chalking the bird that she stamped on her cards and envelopes


Hard at work!


She was so creative, making her bird a variety of colors!