
Full sheet of 12 X 12 paper

Fold paper in half (from top to bottom)

Open paper back up so the crease in running horizontally

Fold one end in making a 4" fold

Fold the other end in making a second 4" fold

Open paper up, you should see 6 sections

Fold the top down 2" and the bottom up 2"

Take scissors and cut along the middle seam the length of 2 squares

I then folded it in half (along the seam that I cut, leaving only 1 square attached) so that the pink sides of the paper were touching

Fold the end square towards the middle

Turn the project over and fold the other end square towards the middle

This is the view of the project showing what it will look like after having done the previous step

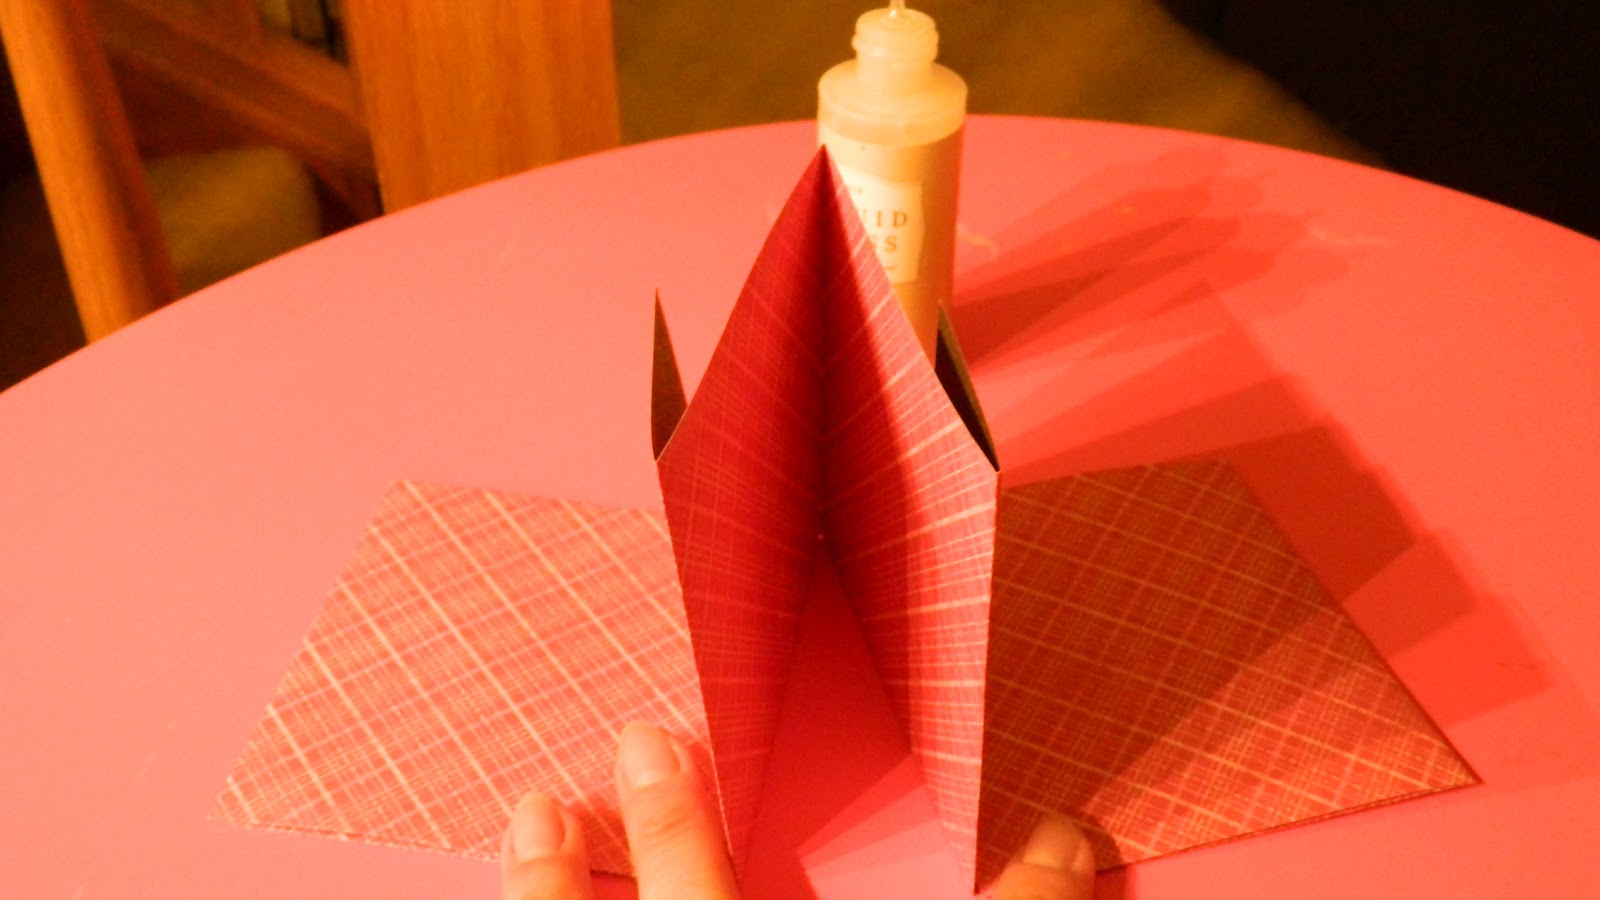
Fold the project in half, with the pocket flaps on the inside

I then used liquid glass to glue the front flap down

Open to the back page and glue the back flap down as well
Once the front & back flaps are glued, this is what the folder will look like (the front and back cover are touching the table)

Put a small line of liquid glass along the small flap to attach the edge of the pocket to the back

Do the same on the other side of the pocket, attaching the end of the pocket
Here is what the finished project looks like (I already had the green folder made when I was asked for the directions to I made a second one in pink & black to show the steps).

This is the final product. I glued a piece of hemp string around it to keep it together and made a flower using the technique outlined in the following video made by another talented CTMH consultant Gloria Rogers http://www.youtube.com/watch?v=w6Ut1Soshms&feature=youtu.be The middle of the flower is just a piece of matching paper that I tore, crumpled and glued in the middle :)

I would recommend using a half stack of post it notes so it's not so bulky

Back of the flap where I put some of my business cards.
I just had an order tonight for one of these to help organize coupons for grocery shopping trips. The possibilities are endless and they're SO easy to make! These would make terrific make & takes for a crop!
I hope that the pictures and links help out. If you have any questions or need anything clarified, please leave me a message to let me know! ENJOY!!! Thanks again Gloria Rogers for sharing the secret of creating beautifully inked flowers!
Your flower is beautiful!! You did such a lovely job. I'm going to have to try that post-it note holder. Thanks for sharing!!
ReplyDelete